Month: November 2015

Ever walk into a nail salon and wonder why some of the manicurists wear face masks? I’m no expert when it comes to the ingredients. However, three components in particular have been in the news for their direct link to a number of serious health issues. The “toxic three”, as they are known as, include: dibutyl phthalate (DBP), toluene, and formaldehyde – a known carcinogen.

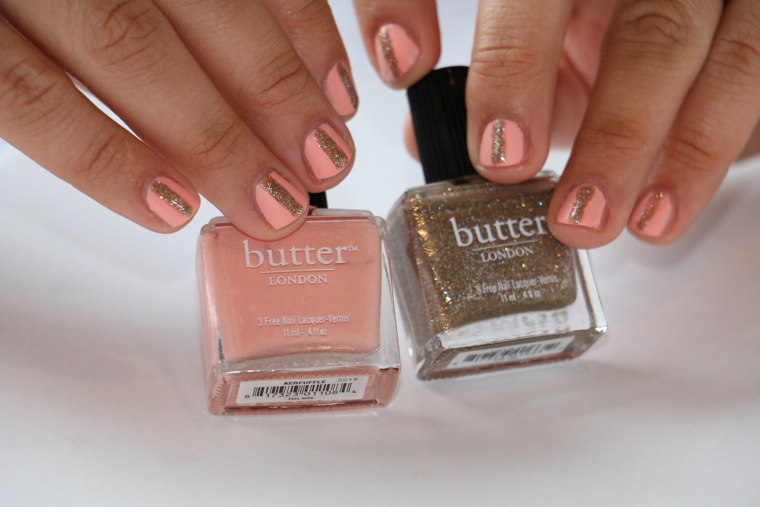
Now there are some brands who have tackled the issue head on and have rid themselves and have rid their nail lacquers of such components and thus are “3 Free” (like Butter London, Essie, OPI, and Deborah Lippmann polishes just to name a few).

For an in depth look at the unfortunate consequences of prolong exposure that these and other strong chemicals are having on manicurists, I urge you to read the NY Times expose Perfect Nails, Poisoned Workers.  While long-term data is limited on this issue, there are some precautions I take to lessen my exposure such as:

  1. Only using “3 Free” nail polishes and avoid getting acrylic nails.
  2. Make sure your applying nail polish in a properly ventilated space.
  3. If desired, wear a face mask when applying polish on nails.
  4. Secure all nail polish lids and store in a safe environment.

Glitter Striped Nails

A touch of glitter nail polish can make an ordinary nail look go from meek to chic within minutes. Follow these simple steps to recreate the look.

  1. Choose your favorite base coat and paint over clean dry nails. We used “Nail Foundation Priming Basecoat” by Butter London ($18).
  2. Next, we painted all nails with a pink coral color called “Kerfuffle” by Butter London ($15). This look works well with any nude to pink nail polish. Just make sure to use a shade that is opaque and not darker than the glitter shade that will be utilized later.
  3. Once all nails are completely dry, proceed by painting all nails with a matte top coat. Your matte nails will now serve as a muted backdrop for the glitter striped nails to be applied next. We selected Butter London’s “Matte Finish Shine Free Topcoat” ($19) for this look.
  4. Next comes the fun part. Use a thin to medium size striping brush and dip it into a golden glitter nail polish. If you don’t have a striping brush – no worries. Simply use the glitter nail polishes brush in the exact same way. Our glitter nail lacquer of choice was “West End Wonderland” by Butter London ($15).
  5. Next, set the glitter polish with a shiny top coat and allow to dry. Be sure to avoid other areas of the nail that have the matte finish. We used Butter London’s “Hardware P.D. Quick Topcoat” ($19).
  6. Clean up any mistakes with a fine striping brush dipped into 100% Acetone nail polish remover.
  7. Now…enjoy your new nail look. 🙂

Note: All products used for this look are from Butter London. In comparison to other nails polish brands, these are more expensive. However, keep in mind that Butter London prides itself in never using paraben, formaldehyde, toluene, DBP, or phthalates.