Chanel

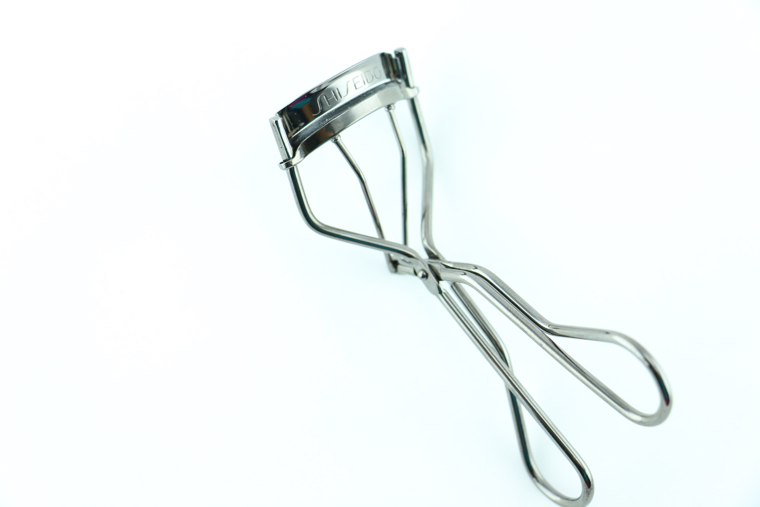
  • Shiseido Eyelash Curler

    Shiseido Eyelash Curler

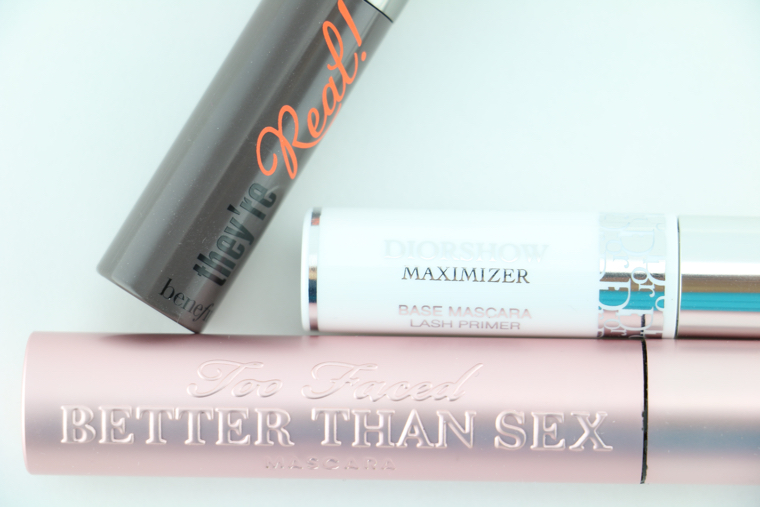
  • DIor Diorshow Maximizer Lash Plumping Serum, Too Faced Better Than Sex Mascara and Benefit They're Real! Mascara

    DIor Diorshow Maximizer Lash Plumping Serum, Too Faced Better Than Sex Mascara and Benefit They're Real! Mascara

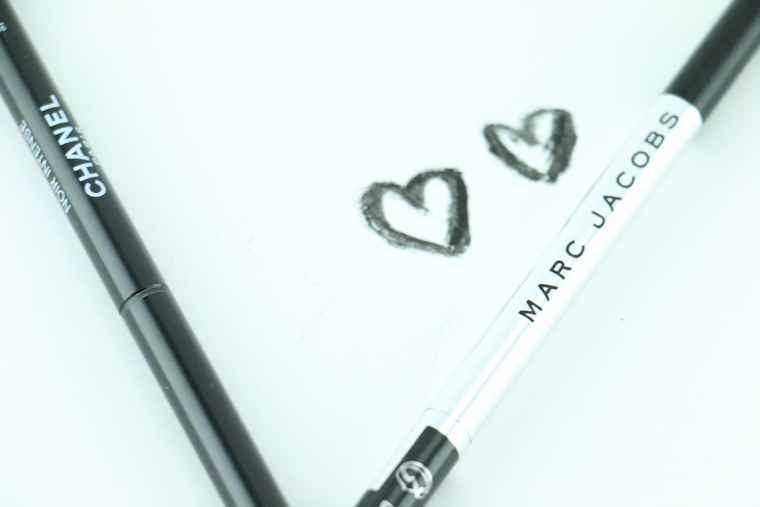
  • Marc Jacobs Beauty Highliner Gel Eye Crayon Eyeliner & Chanel Stylo Yeux Waterproof Long-Lasting Eyeliner

    Marc Jacobs Beauty Highliner Gel Eye Crayon Eyeliner & Chanel Stylo Yeux Waterproof Long-Lasting Eyeliner

How many times have you watched a YouTube video to get some morning makeup inspiration? By the end of the video, have you asked yourself, “who really puts on false eyelashes at seven in the morning?” Don’t get me wrong, once in a blue moon, I have the extra motivation to go all out and put on my nicest falsies.  It’s as if by using them I’m summoning my inner goddess with the intentions of conquering the world . However, that little fairy tale is always short lived and I find myself with the same dilemma — how does one achieve the appearance of long voluminous lashes without using false eyelashes? And so here is my step-by-step way of getting this desired look:

Step 1

Grab your biggest, baddest eyelash curler and pump up your lashes ’til your hearts content. One quick tip — make sure you place your curler at the very base of your lashes and pump at least three times consecutively.

Recommended Eyelash Curler:

  1. Shiseido Eyelash Curler ($19.50)
  2. Shiseido Eyelash Curler Replacement Pad ($6)

Step 2

The following step is crucial. You must prime your eyelashes! A great eyelash primer will help extend the life of your newly curled lashes. It also will give them a sturdier feel, which helps sustain the weight of your mascara. The biggest bonus to using an eyelash primer is that many come formulated to amplify and enhance your natural lashes.

Recommended Eyelash Primer:

  1. Diorshow Maximizer Lash Plumping Serum ($28.50)

Step 3

Once your eyelash primer has had time to properly dry, it’s time to use several coats of your favorite mascara. The lash look your going for (ex. long, wispy, voluminous, etc.) will ultimately dictate the mascara you will use. Please read our prior post, Mascara Mania, for more information.

Recommended Mascaras:

  1. Benefit Cosmetics They’re Real! Lengthening and Volumizing Mascara ($24)
  2. Too Faced Better Than Sex Mascara ($23)

Step 4

Take a black waterproof eyeliner and liner your upper waterline. This will give your lashes more depth and create the illusion of fuller lashes.

Recommended Waterproof Eyeliners:

  1. Marc Jacobs Beauty Highliner Gel Eye Crayon Eyeliner in black ($25)
  2. Chanel Stylo Yeux Waterproof Long-Lasting Eyeliner in #88 Noir Intense ($33)


Nighttime Creams

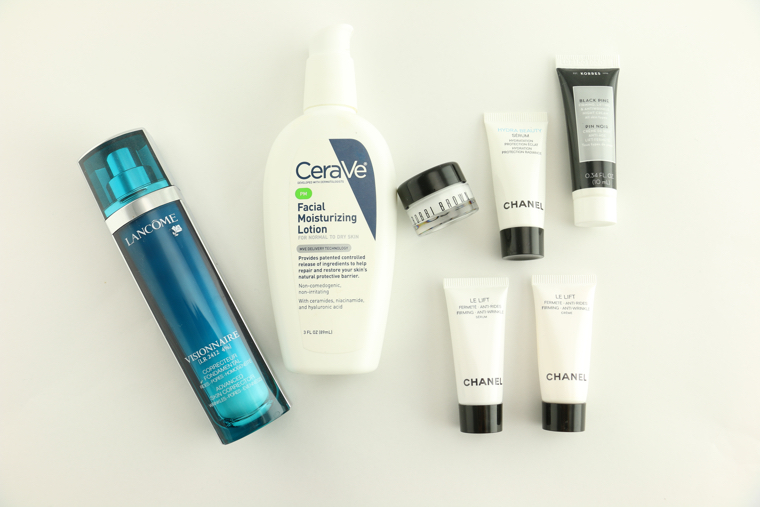
So you’ve cleansed your face, your wearing your favorite pajamas, and hear your bed calling your name. Well, before you sprint over to the bedroom to begin dreaming about your next makeup haul, be sure to slather some nighttime cream to help moisturize your face and keep the wrinkles at bay. Some creams I find exceptionally great to incorporate in your nighttime beauty routine include the following.

  1. CeraVe: This is my go-to cream not only because of the price (YES its only $13.99!!), but because it works wonders, is noncomedogenic and also fragrance free!  Now for those of you who have suffered from acne most of your life, like myself, finding a cream that is noncomedogenic is absolutely crucial. That’s because nighttime creams have a thicker consistency, which may aggravate sensitive skin and lead to breakouts. I’ve tried plenty of moisturizing lotions in my 35+ years, but the the CeraVe has been the best for my skin type.
  2. Chanel Le Lift Creme: If your pocketbook doesn’t mind taking a beating, then the line of Chanel’s Le Lift Creme might be perfect for you. Now I’ve never “bitten the bullet” to buy this cream because at a whopping $165 its certainly not cheap. Alright…maybe its not as expensive as the highly coveted Creme de la Mer ($310 for 2 oz….ouch!), the Chanel Le Lift certainly gives it a run for its money. Lucky for me I always get plenty of samples with a Chanel beauty purchase, but I know the day will come when my endless supply of samples will run-out. And when that days comes, I won’t think twice about purchasing it because it really does diminish fine lines. NOTE: I only use this cream to spot treat areas such as laugh lines and deep wrinkles.
  3. Bobbi Brown Hydrating Eye Cream ($58): I love this cream because it is light, hydrating, and highly effective. While it won’t eradicate all under eye wrinkles, it will smooth and reduce their appearance.


  • Highlighters

    Highlighters

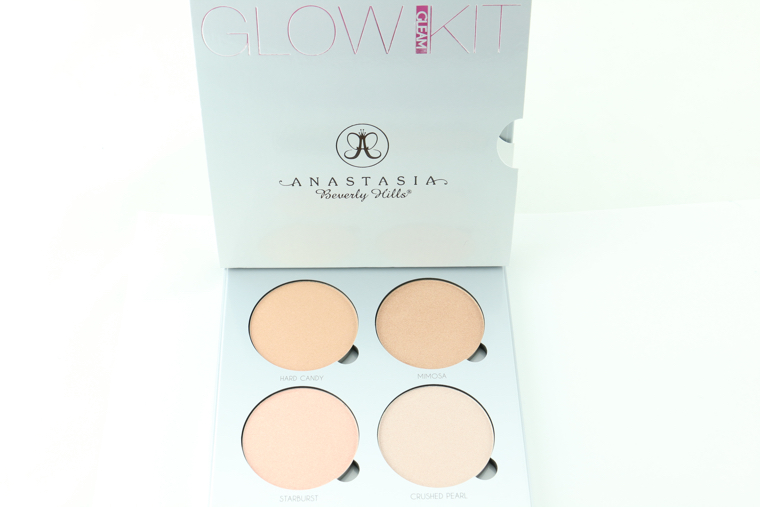
  • Anastasia Beverly Hills Glow Kit in Gleam

    Anastasia Beverly Hills Glow Kit in Gleam

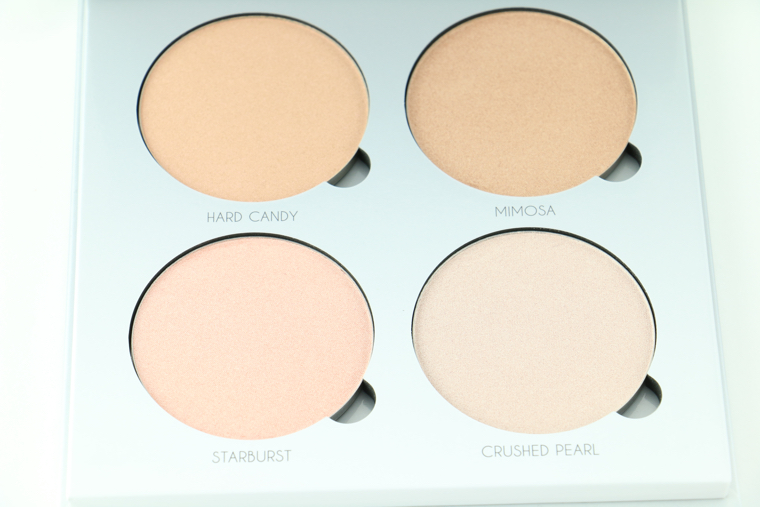
  • Anastasia Beverly Hills Glow Kit in Gleam (closeup)

    Anastasia Beverly Hills Glow Kit in Gleam (closeup)

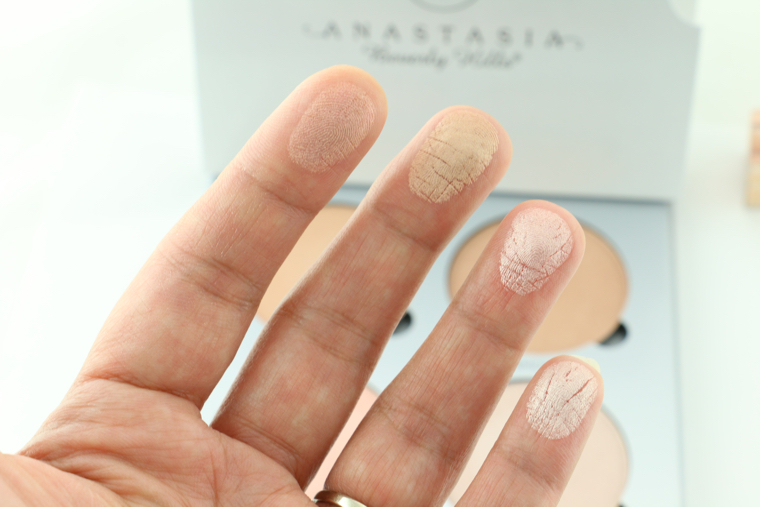
  • Anastasia Beverly Hills Glow Kit in Gleam (swatches)

    Anastasia Beverly Hills Glow Kit in Gleam (swatches)

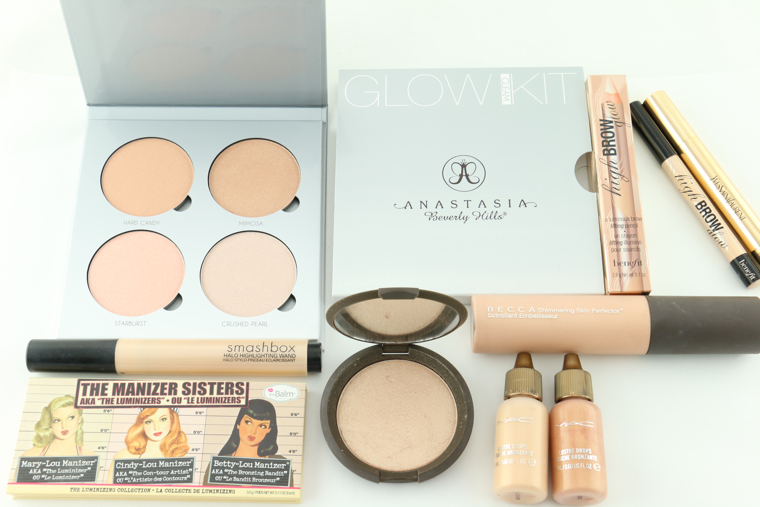
  • Highlighters (swatches)

    Highlighters (swatches)

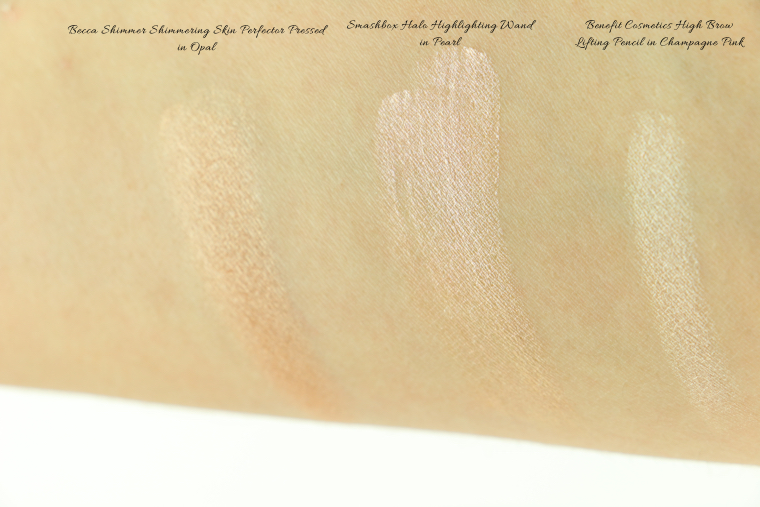
Now onto what will give you that luminosity: highlighters. I could live without a bronzer, but not without my highlighter! A great highlighter brightens up the face while simultaneously adding a youthful glow that seems to diminish as we age. For a beginner, I would say to apply your highlighter above the cheekbone where the sun would naturally hit. If you want step it up a notch, you can strategically place some above your cupids bow, the highest point of your brow bone, and on the bridge of your nose. My only advice when it comes to using a highlighter is to use some restraint. If you go overboard, you will look like a disco ball. Let your application be light-handed and soft so you get the desired effect. The overwhelming popularity of highlighters has only benefited consumers because of the array options available. Highlighters can be found in liquid, cream, powder and even in pencil form. Here is a breakdown of some of my favorites in each of these categories (with Sephora.com descriptions):

Liquid Highlighter

  1. BECCA Shimmering Skin Perfector ($41/five available shades): Achieve a subtle luminosity. This formula features ultrafine light-reflecting pearls that melt into your skin for polished, natural-looking radiance. Water-light and sheer, it has a prismatic effect that allows it to adjust in any light, so your refined glow is never lost.
  2. Benefit Cosmetics High Beam Liquid Face Highlighter ($26/one shade): A satiny-pink, liquid highlighter to add a subtle glow

Cream Highlighter

  1. Benefit Cosmetics Watt’s Up! Cream-to-Powder Highlighter ($30/one shade): This particular highlighter seems to be a strobing favorite amongst makeup artists. If an intense highlighted look is your thing, then I suggest you head over to YouTube and check out this strobing technique, using the Benefit Cosmetics Watt’s Up!, with the great MUA Mario Dedivanovic.

Powder Highlighter

  1. BECCA Shimmering Skin Perfector Pressed ($38/six shades): Buyer Beware…BECCA pressed powder highlighters are very potent. Just a swipe of their highlighters can be noticed from afar and it lasts all day. I highly recommend this highlighter for those who want a more noticeable radiance.
  2. Anastasia Beverly Hills Glow Kit in Gleam ($40): This highlighter palette  is the best value for your money given the fact that it comes with four unique shades.
  3. theBalm Cosmetics theManizer Sisters ($28/three shades in one palette): In a previous post, I selected theBalm’s theManizer Sisters as my beauty product of the month. I absolutely love this product because the colors are gorgeous and its subtle shimmer will complete any makeup look without looking overdone.

Pencil Highlighter

  1. Benefit Cosmetics High Brow ($22/two shades): This pencil is the best for precision application and for those places you want minimal product placement (i.e. corners of your eyes, lips and along the bridge of your nose). Of all the products mentioned, I use this one almost every day; its that good! The best part is that you don’t need any beauty blender or brushes for its application and it’s the most portable of the bunch. FYI: YouTuber Jordan has an awesome video highlighting (yes…pun intended) his use of the Benefit Cosmetics High Brow Pencil.

Recommended Brushes for Highlighter Application

  1. Smashbox Fan Brush #22 ($18)
  2. Morphe Brush # ($ )
  3. Beauty Blender micro.mini ($18/pack of 2) – I use this specifically with the Benefit Cosmetics Watts Up!
  4. Good old fingers…for the liquid highlighters.
Insider Tip

One neat trick is to place 1 to 2 drops of your preferred liquid highlighter and mix it into your favorite foundation. This gives your whole face a subtle diffused, but amazing radiance that will stay with you all day.

1 2