Easter Nail Polish
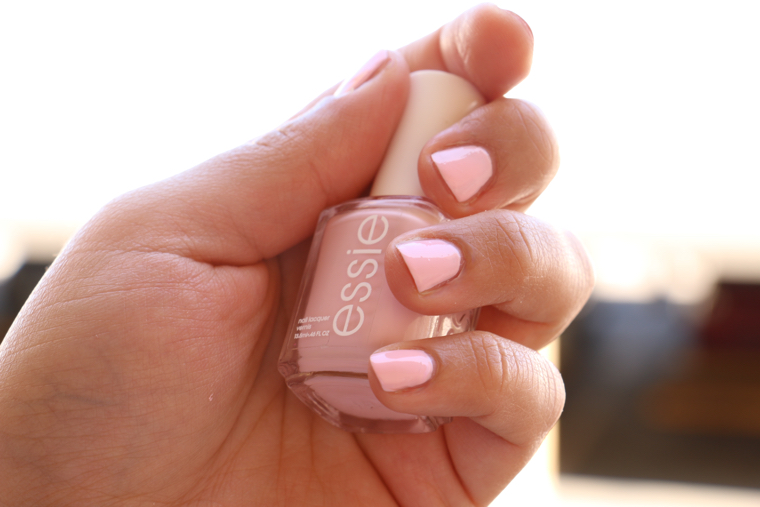
Step 1: Essie in shade "Fiji"
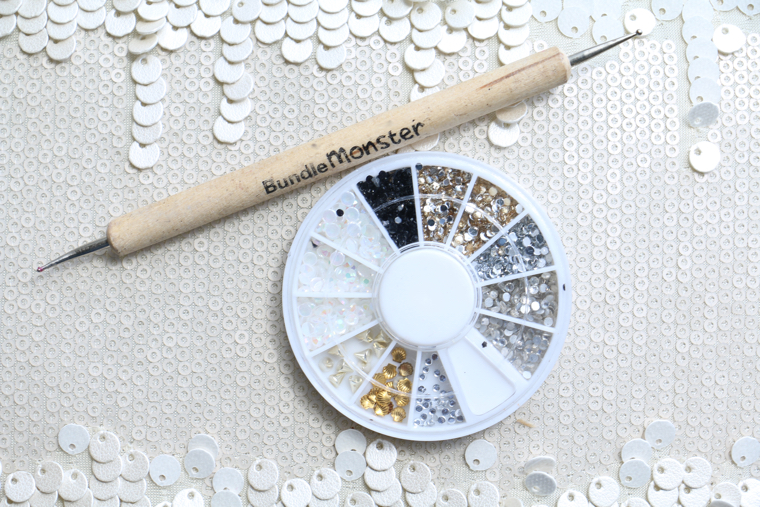
Step 2: Rhinstone Placement
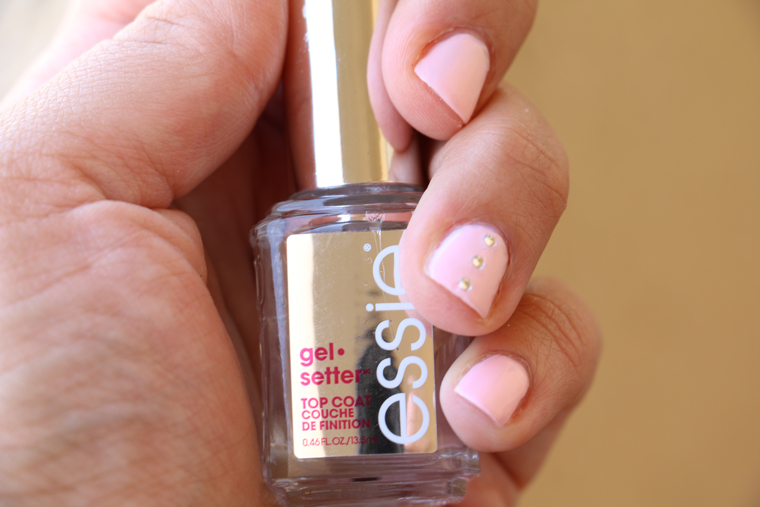
Easter Nail Final Look
For those who celebrate Easter, this simple nail art look has you covered. So ready, set, let’s deconstruct…
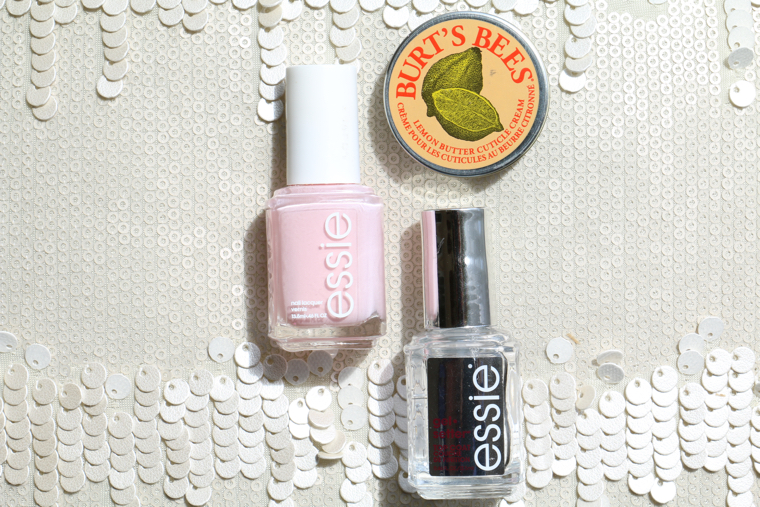
- Choose your favorite base coat and paint over clean dry nails. We used “Top 2 Bottom” by Orly ($11).
- Next, we painted all nails with the pastel pink color “Fiji” by Essie ($8.50). Allow nails to dry completely.
- Now it’s time for the nail art that will be placed on the ring fingers as accent nails. Take any small bobby pin, unless you have a dotter tool (we’ve used a dotter from the Monster Bundle 20 piece set $13.50), and open it up for easier handling. Now lightly coat the bobby pin or dotter tool with a top coat and proceed to take a small rhinestone (we’ve used 1.2mm rhinestones from the Born Pretty Store $1.99) and gently place and push into your nail. NOTE: You may create any desired design. For this look, we simply created a vertical row using three 1.2mm rhinestones.
- Finish off painting your nails with your favorite top coat. We topped them off with “Gel Setter” by Essie ($10.00).
- Optional: Once nails are completely dry, gently massage some Burt’s Bees Lemon Butter Cuticle Cream ($6) to give hands a healthy glow.
Thank you for sharing. I will give it a try since I already have Figo and the clear gel. Happy Easter! !
Happy Easter to you as well! Thank you so much for checking out our blog, it really means a lot to us. Please subscribe and tell others. And if you have any suggestions for future posts, please let us know 😉